If you lived in my house you would know I love food from all over, but my favorite has to be Italian! Cheese is my soft spot (both on my tongue and around my body...haha) so this is a dish you might need to run to the gym after devouring, but it's well worth it!
This dish is also an homage to one of my dearest friends, Jill Melendez. I remember how in college I always had to have some meat in my meals, but she could live off of Manicotti! I hope this dish is pleasing to her! I also wanted to come up with a dish that I could make the night or morning before so I can hang out with guests while it cooks! It's simple, flavorful and will knock your socks off! Enjoy!

Ingredients:
For the Manicotti:
- 1 box manicotti
- 32 ozs marinara sauce (bought or made w/my recipe of Simply Fresh Marinara)
- 1 (10 ounce) package frozen chopped spinach, thawed & drained
- Try to get every ounce of water out so it doesn't make the cheese soggy
- 1/4 cup chopped fresh basil
- 1 tsp garlic powder
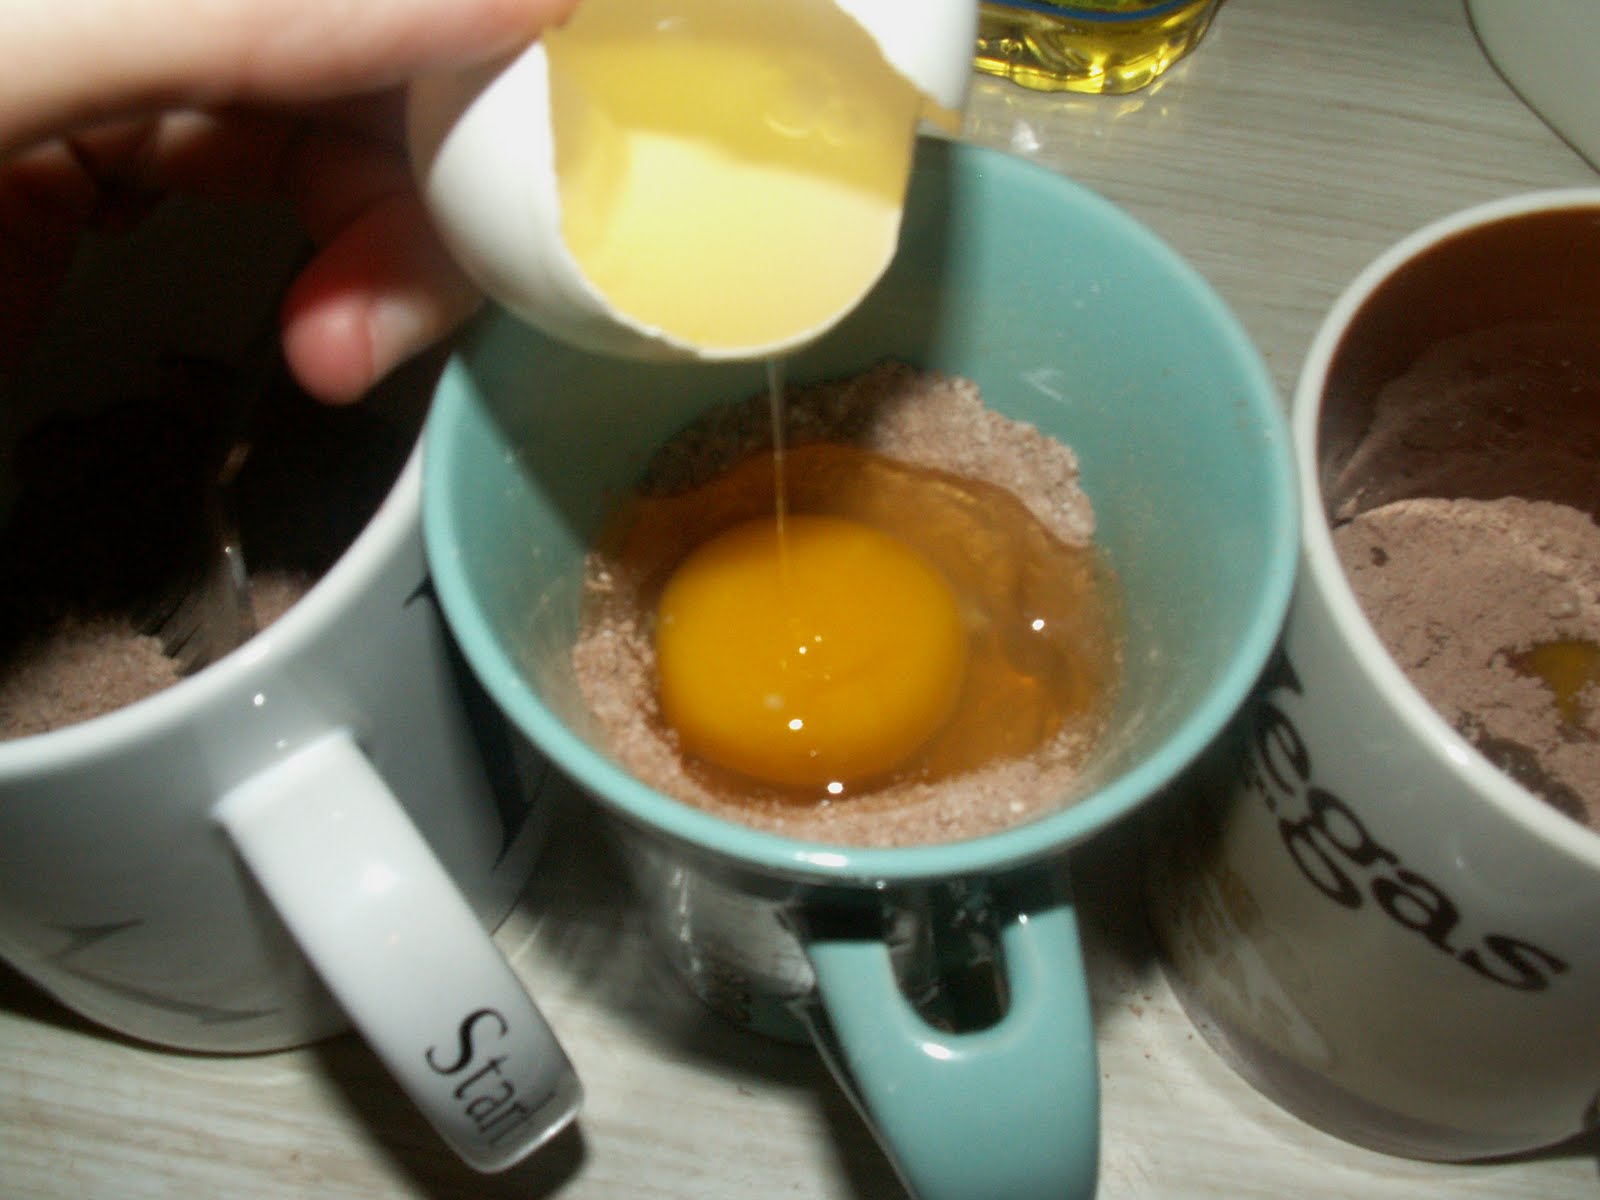
- 2 eggs (at room temperature)
- 1 pint (2 cups) ricotta cheese
- 2 cups shredded mozzarella cheese (divided)
- 1 cup grated Parmesan cheese (divided)
- 1 tbsp Italian Seasoning
- 1 1/2 tbsp white sugar
- 1/8 tsp salt
- 1/4 tsp ground black pepper
For the Sausage (if using):
- 10 Italian sausage links (I like to use hot, but sweet works if you're not a fan of spice)
- 24 ozs marinara sauce (bought or made w/my recipe of Simply Fresh Marinara)
Directions:
1. Place manicotti shells into sink (with stopper in place) and pour a kettle's worth of boiling water on top, followed by hot water from your faucet to cover the shells, plus 1 inch more over the top.
TIP: If you let the shells sit in this for
FIVE MINUTES, then remove (see step #8),
they will cook 1/2 way and finish cooking in the oven.
This will also allow for easier stuffing!


2. Use a rod to move around and make sure they are not sticking to each other.

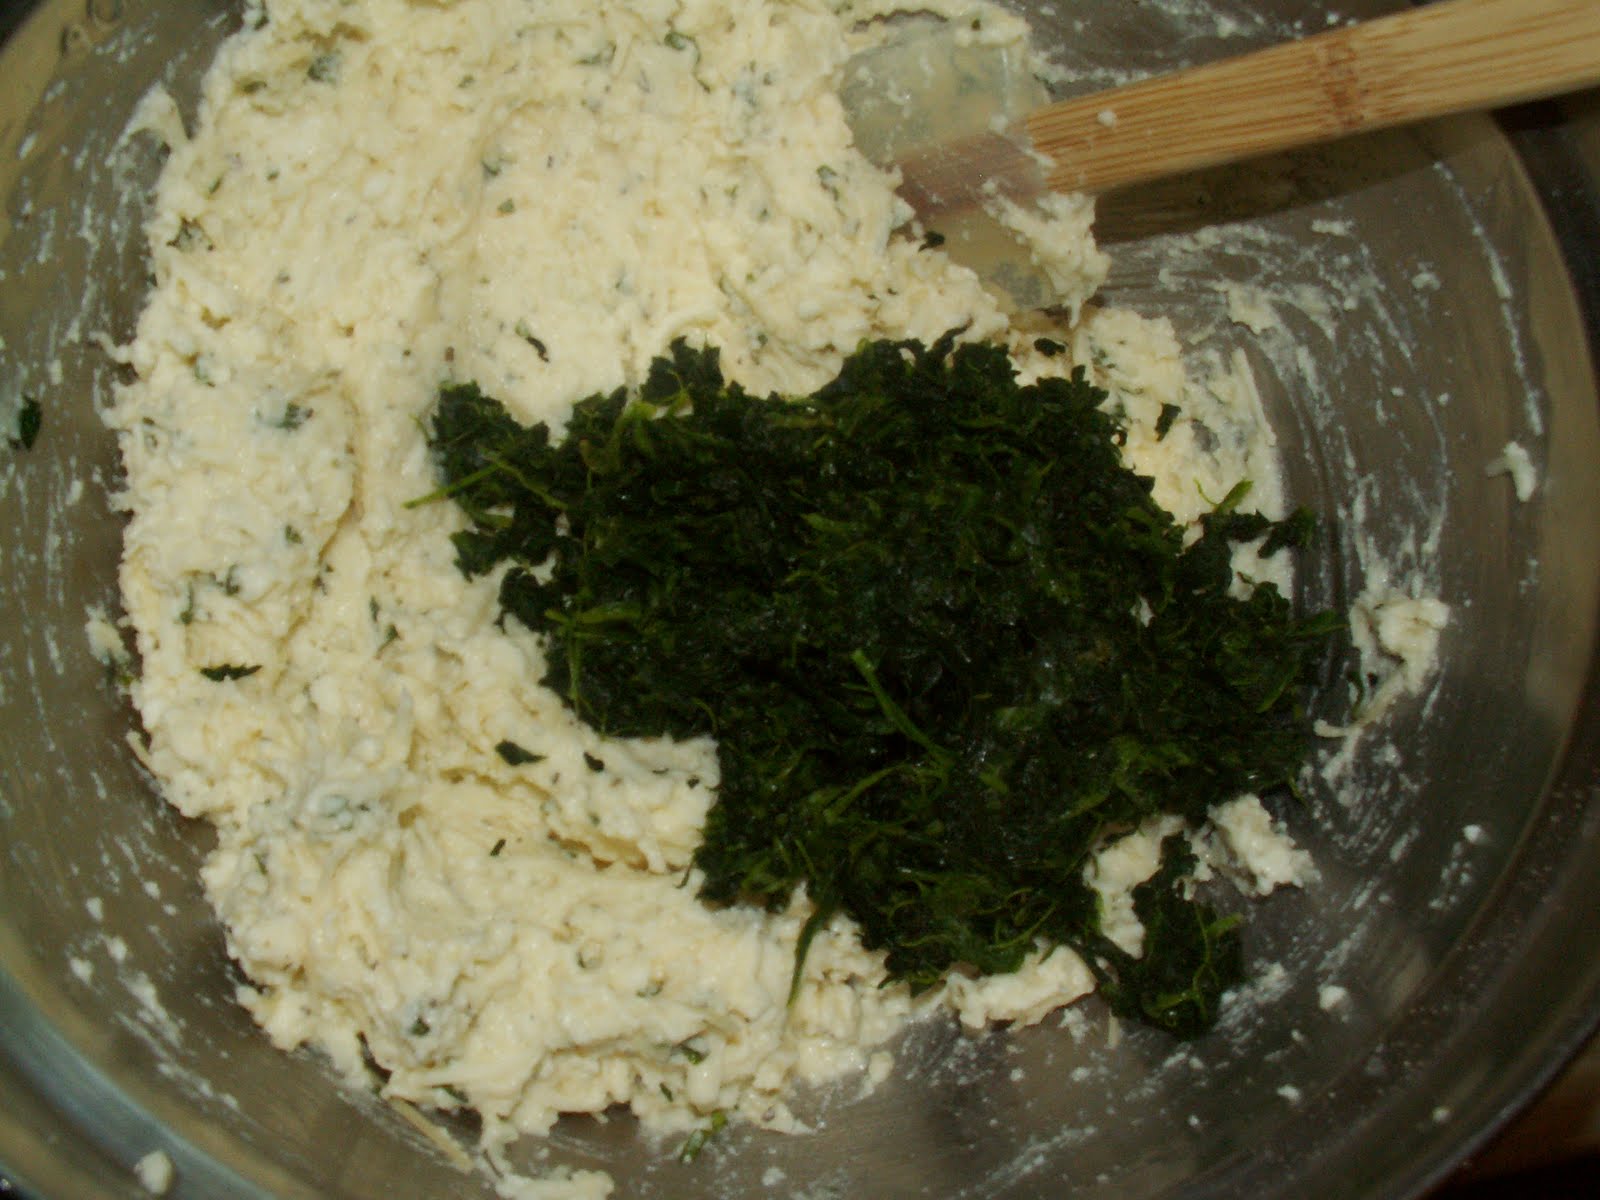
3. Meanwhile, in a medium bowl, mix together ricotta cheese and eggs until blended.


4. Stir in the fresh basil, Italian seasoning, garlic powder, sugar, salt & pepper.

5. Stir in 1 & 1/4 cups of mozzarella cheese, along with 1/2 cup of parmesan.


6. Squeeze all of the water from the spinach,
chop up with a knife to make sure it is in small pieces,
then stir into the cheese & spice mixture.


7. Pour the cheese mixture into a gallon size zip-lock bag and set aside.

8. Using the rod (so you don't burn your fingers), remove the shells from the sink and place on wax paper or foil on a flat surface. Allow the shells to dry (roughly 5 minutes.)


9. Spay a casserole dish with nonstick spray and spread about 2 cups of marinara sauce in the bottom.

10. Cut the tip off of the baggie (just a smidge smaller than the manicotti shells hole)
& stuff mixture into uncooked pasta shells.
TIP: I start stuffing on one end, then when it gets a little harder,
flip & stuff the rest from the other side.
This will make it go faster and you won't have breakage in your pasta shells!


11. As you finish stuffing each shell, place on top of the marinara sauce in a single layer.


12. Pour the remainder of sauce over the top and spread evenly.


13. Sprinkle the remainder of the cheese over the top & let chill in the refrigerator for 8 hours or overnight.


WAIT!
Do you have left over manicotti filling?
Here is an option of what to do with it to make an appetizer, or savory breakfast!
Just spread on some crusty bread, some small crackers, or even toast if you're all out of the others like me and bake under the broiler until the cheese bubbles!
Just like that you've put every bit of it to use :)


Now back to cooking...
When ready to cook the manicotti (and sausage if using):
14. Preheat oven to 400 degrees.
15. Cover with foil and bake for 40 minutes.
16. In the meantime, heat up a pot
(cast iron is my preference, but use what you got!)
to medium-high heat.
17. Add 3 tbsp of EVOO, followed by the sausage links.

18. Brown the sides of the sausage (about 2 minutes per side.)
They should look like the sausage links (in the picture above) on the left side when browned.
19. Pour the remaining marinara sauce over the top, stir to coat the links and
turn down the temperature to low so they can simmer while the manicotti bakes.

20. Right before the 40 minutes are up, remove the sausage links and place on a plate or board to cool.


21. Remove the foil from the manicotti and allow it to cook for roughly 5 more minutes.
You want the cheese to finish melting & brown ever so slightly on top!
22. Remove the manicotti from the oven and allow to sit for about 10 minutes before serving.

23. Slice sausage into bite sizes pieces and place into serving dish.

24. Pour the sauce from the pot they cooked in over the top of the cut sausage and stir.
Cover until ready to serve.

You can serve the manicotti on the plate, topped with sausage
OR
serve the sausage on the side
OR
just let guests plate how they see fit!
Bon Appetit!